Agilent 34401A Repair (In Progress)
Created: October 5, 2026 (Last Modified: October 13, 2026)
Background
As I mentioned in my other post, I used quite a bit of Agilent/HP/Keysight equipment in my college days. I currently have a 4-1/2 digit Tenma 72-410A multimeter. It does the job, but I would prefer having an auto-ranging multimeter with higher precision. The unit I used in college was the Agilent 34401A, so I decided to check eBay to see if there were any good units available.
The Hunt
I found one that was listed “as-is” with a bunch of error codes and zero bids. Unfortunately for me I added both this and the Agilent E3631A in my other post to my watchlist. I say this because I woke up with only a few minutes left on the auction and in a panic bid on both units. In my daze I completely forgot about all of the error codes the unit had. Needless to say, I won the auction and was going to be the proud owner of a broken 34401A!
Arrival and Troubleshooting
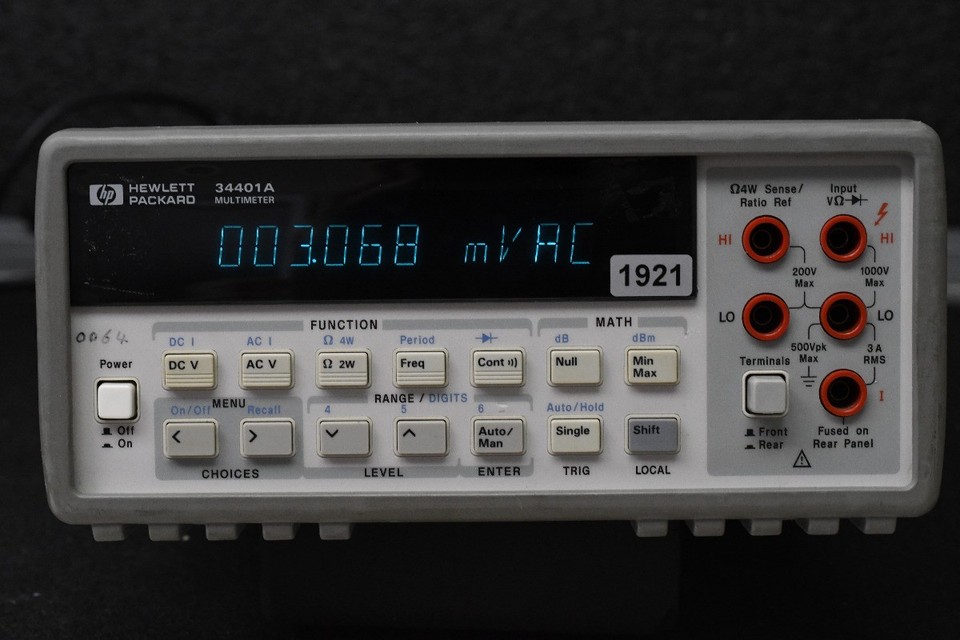
The unit itself is in decent shape. Not perfect, but just alright. It has a couple of dents in it and some old sticker residue on the plastic display lens. Nothing a little elbow grease can’t fix! I immediately took the unit apart to see if there were any obvious visual issues. I didn’t see any so I went to the EEVBlog forums to look for some help diagnosing the issue.
I immediately found this thread where a user has the same error codes as me. The user Dr. Frank appears to give feedback to help troubleshoot the device. I followed his suggestions and came to the conclusion that U201 (AD706JR) needed to be replaced on my unit (will follow up with diagram).
It looks like Analog Device now makes the JRZ and ARZ parts, which are RoHS compliant. DigiKey was out of the JRZ AD706 so I went with the AD706ARZ, which is just the industrial temperature range version. They are a little pricey at $10.24 a pop so I only ordered two of them.
They arrived within the week so now I need to take the time to swap the new one in.
The Repair
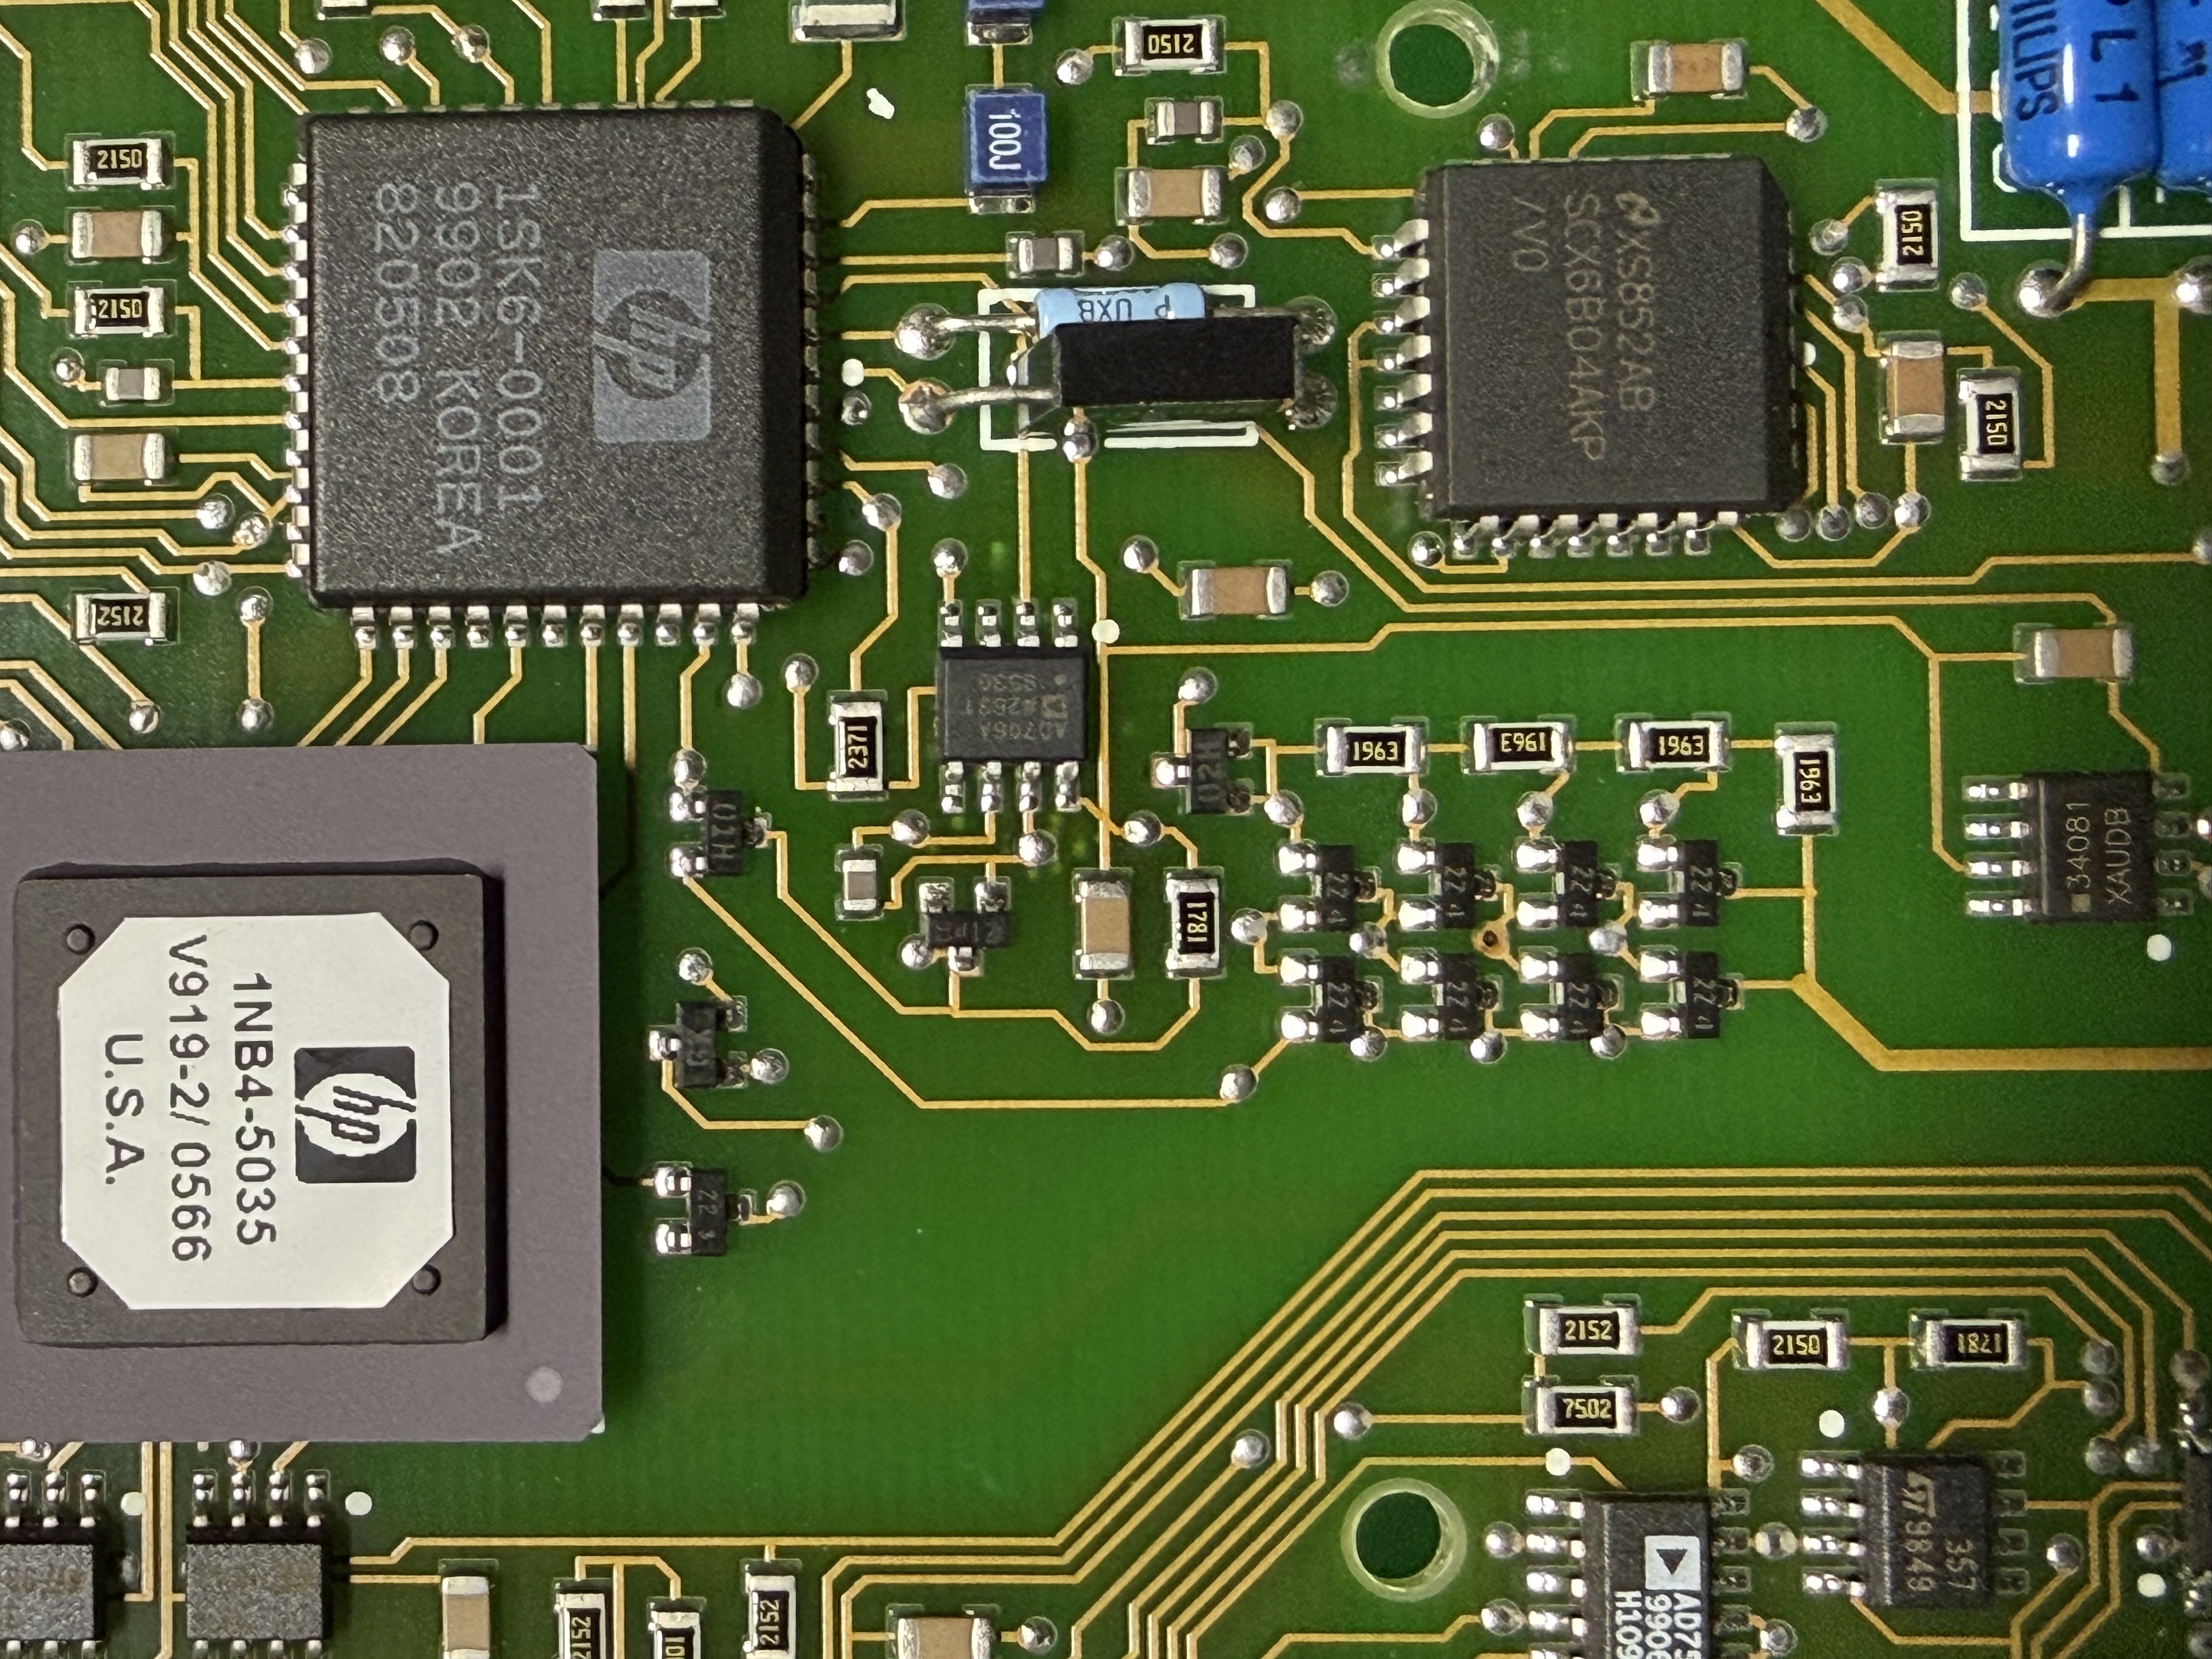
Replacing AD706JR with the new AD706ARZ fixed my issue! The unit now passes all self-tests. I was a little worried about swapping the new chip in since I have not replaced many parts using hot air. PCBs I have reflowed in the past used leaded solder with a lot of planes. Of course, this makes it more difficult especially with the little experience I have. However, this swap was extremely easy! Here is the new chip soldered in place:
Lastly, I cleaned up the unit with some IPA and removed the sticker and sticker residue from the display lens. Only thing left is to try to deep clean the rubber bumpers and it will be as good as new!